Making a font ↩
This page describes the process of creating a simple font from scratch.
No matter how big are your goals for a given project – it is usually a good idea to start small, make sure that the basics work first, and only then expand it. When making fonts, it easier to experiment and be creative while the font is small; the larger the font, the more ‘expensive’ it becomes to make significant changes.
What makes a minimum viable font probably varies from designer to designer. For the sake of this tutorial, it will be a plain style containing only the basic ASCII character set. At the end of the process, we will produce an OpenType font which we can use to set some text in any app.
Now fire up RoboFont, and follow along. Enjoy!
Setting up the font file
Create a new font
To create a new font, choose File > New from the Application Menu.
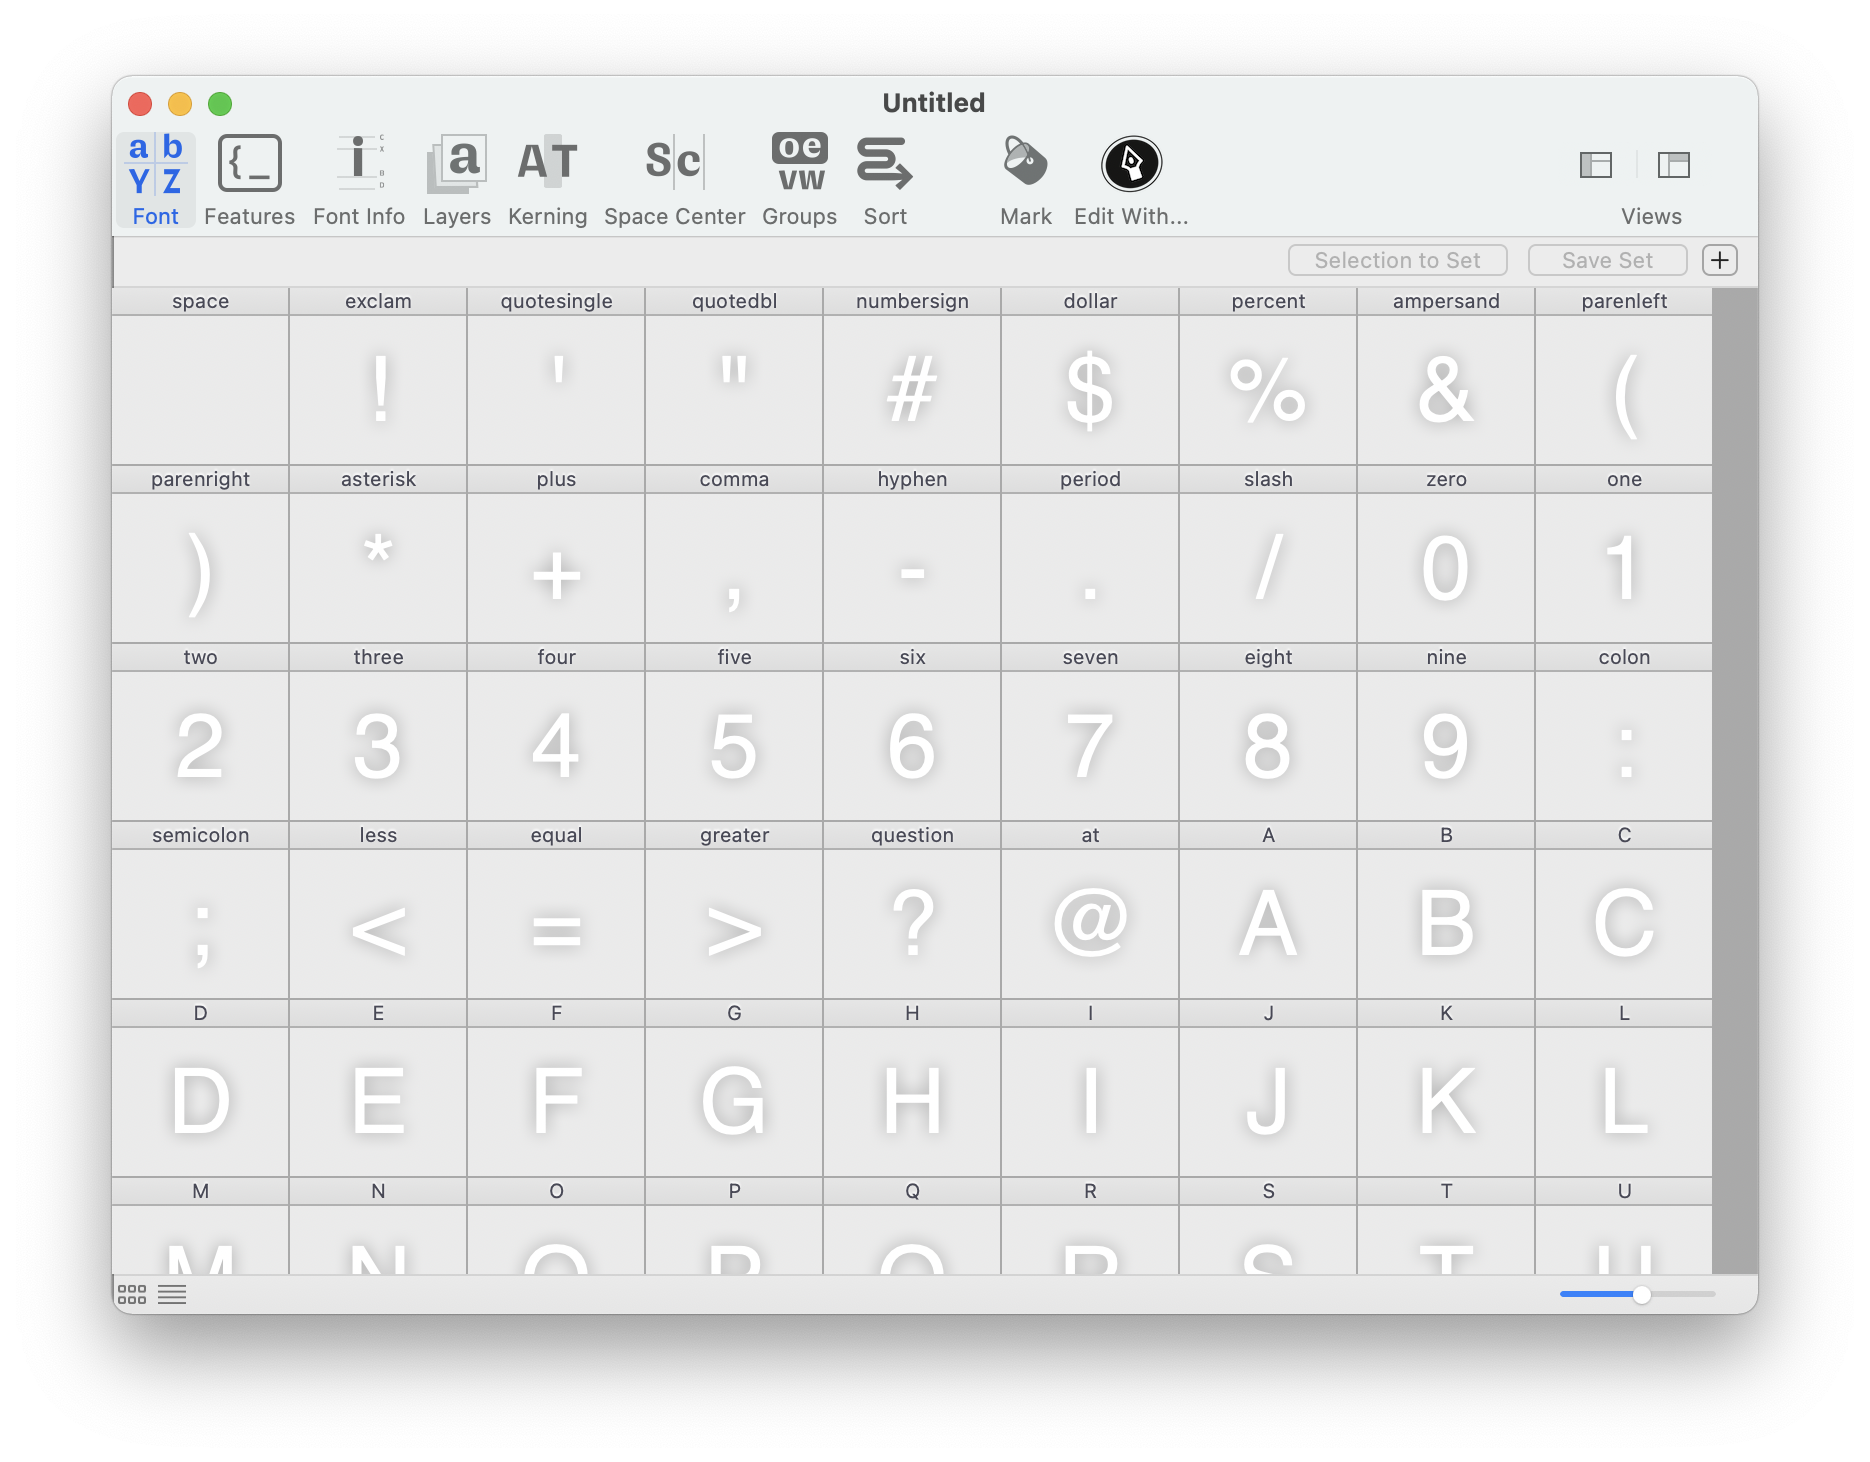
A new empty Font Overview window will appear.
The font doesn’t contain any glyph yet – the greyed out cells are just template glyphs.
Give the font a name
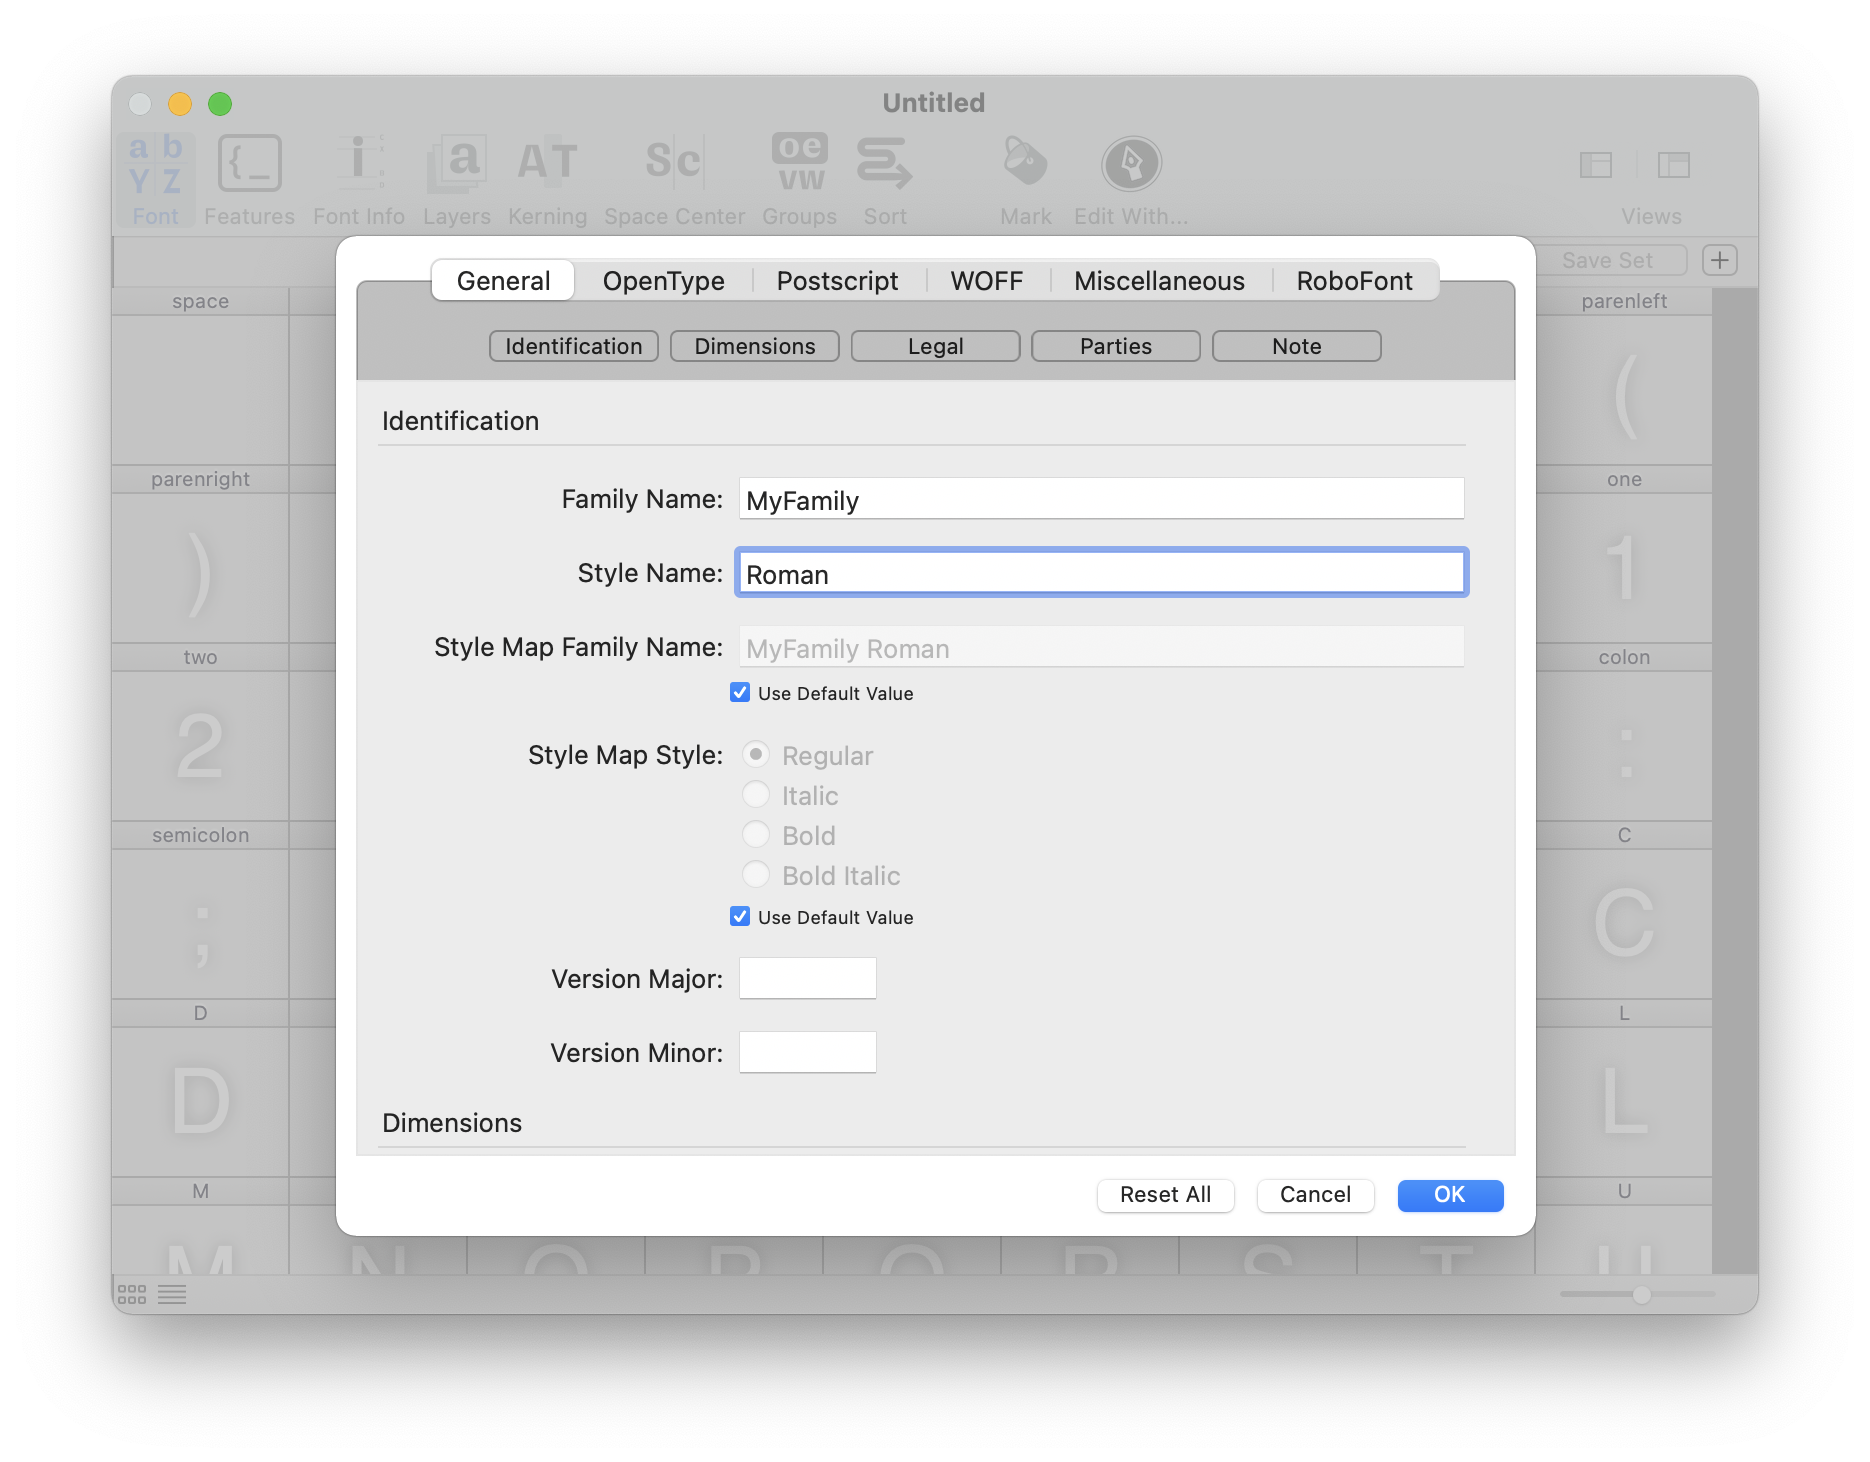
Click on the Font Info icon in the toolbar (or use the keyboard shortcut ⌥ ⌘ I) to open the Font Info sheet.
In the General tab, give the font a family name and style name.
For example: MyFamily (family name) Regular (style name)
You can leave everything else untouched and trust the defaults for now.
Add glyphs
To create new empty glyphs for all characters in the ASCII character set, open the Add Glyphs sheet (use the menu Font > Add glyphs or the keyboard shortcut ⌃ ⌘ G).
Copy the list of ASCII glyph names below, paste it in the main text area, and click on the Add button to create the glyphs.
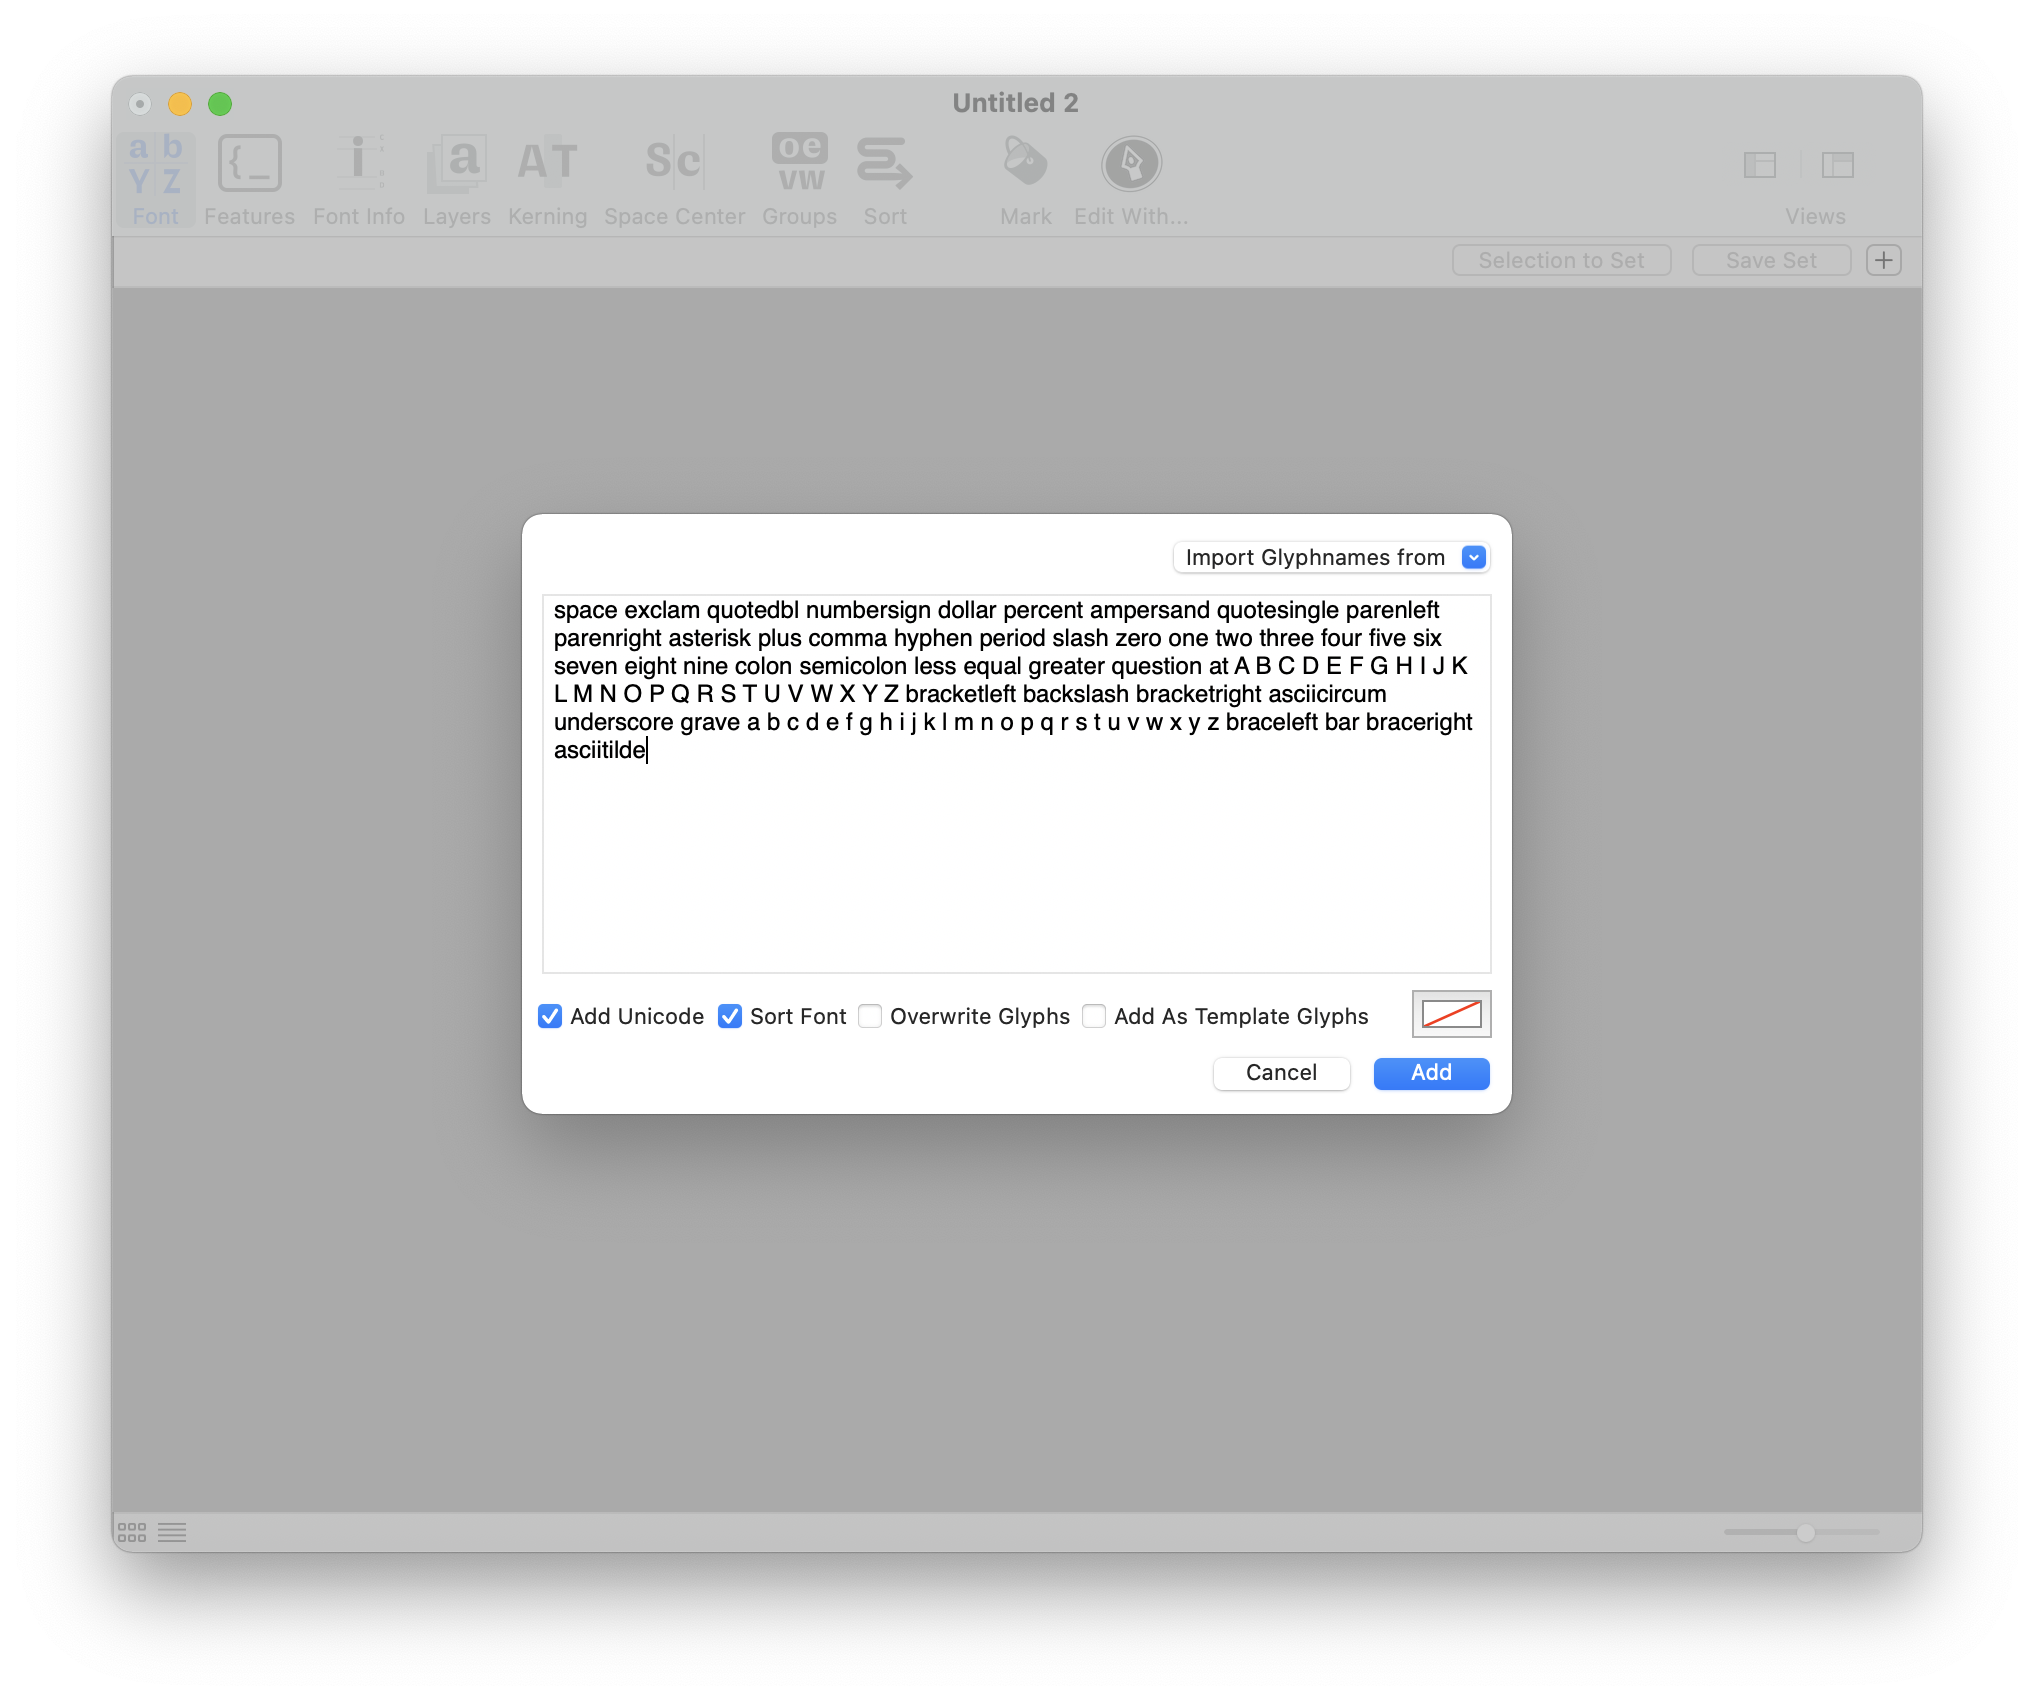
space exclam quotedbl numbersign dollar percent ampersand quotesingle parenleft parenright asterisk plus comma hyphen period slash zero one two three four five six seven eight nine colon semicolon less equal greater question at A B C D E F G H I J K L M N O P Q R S T U V W X Y Z bracketleft backslash bracketright asciicircum underscore grave a b c d e f g h i j k l m n o p q r s t u v w x y z braceleft bar braceright asciitilde
The template cells will change color to indicate the new empty glyphs.
Save the font file
Save your font in a new folder somewhere on your computer.
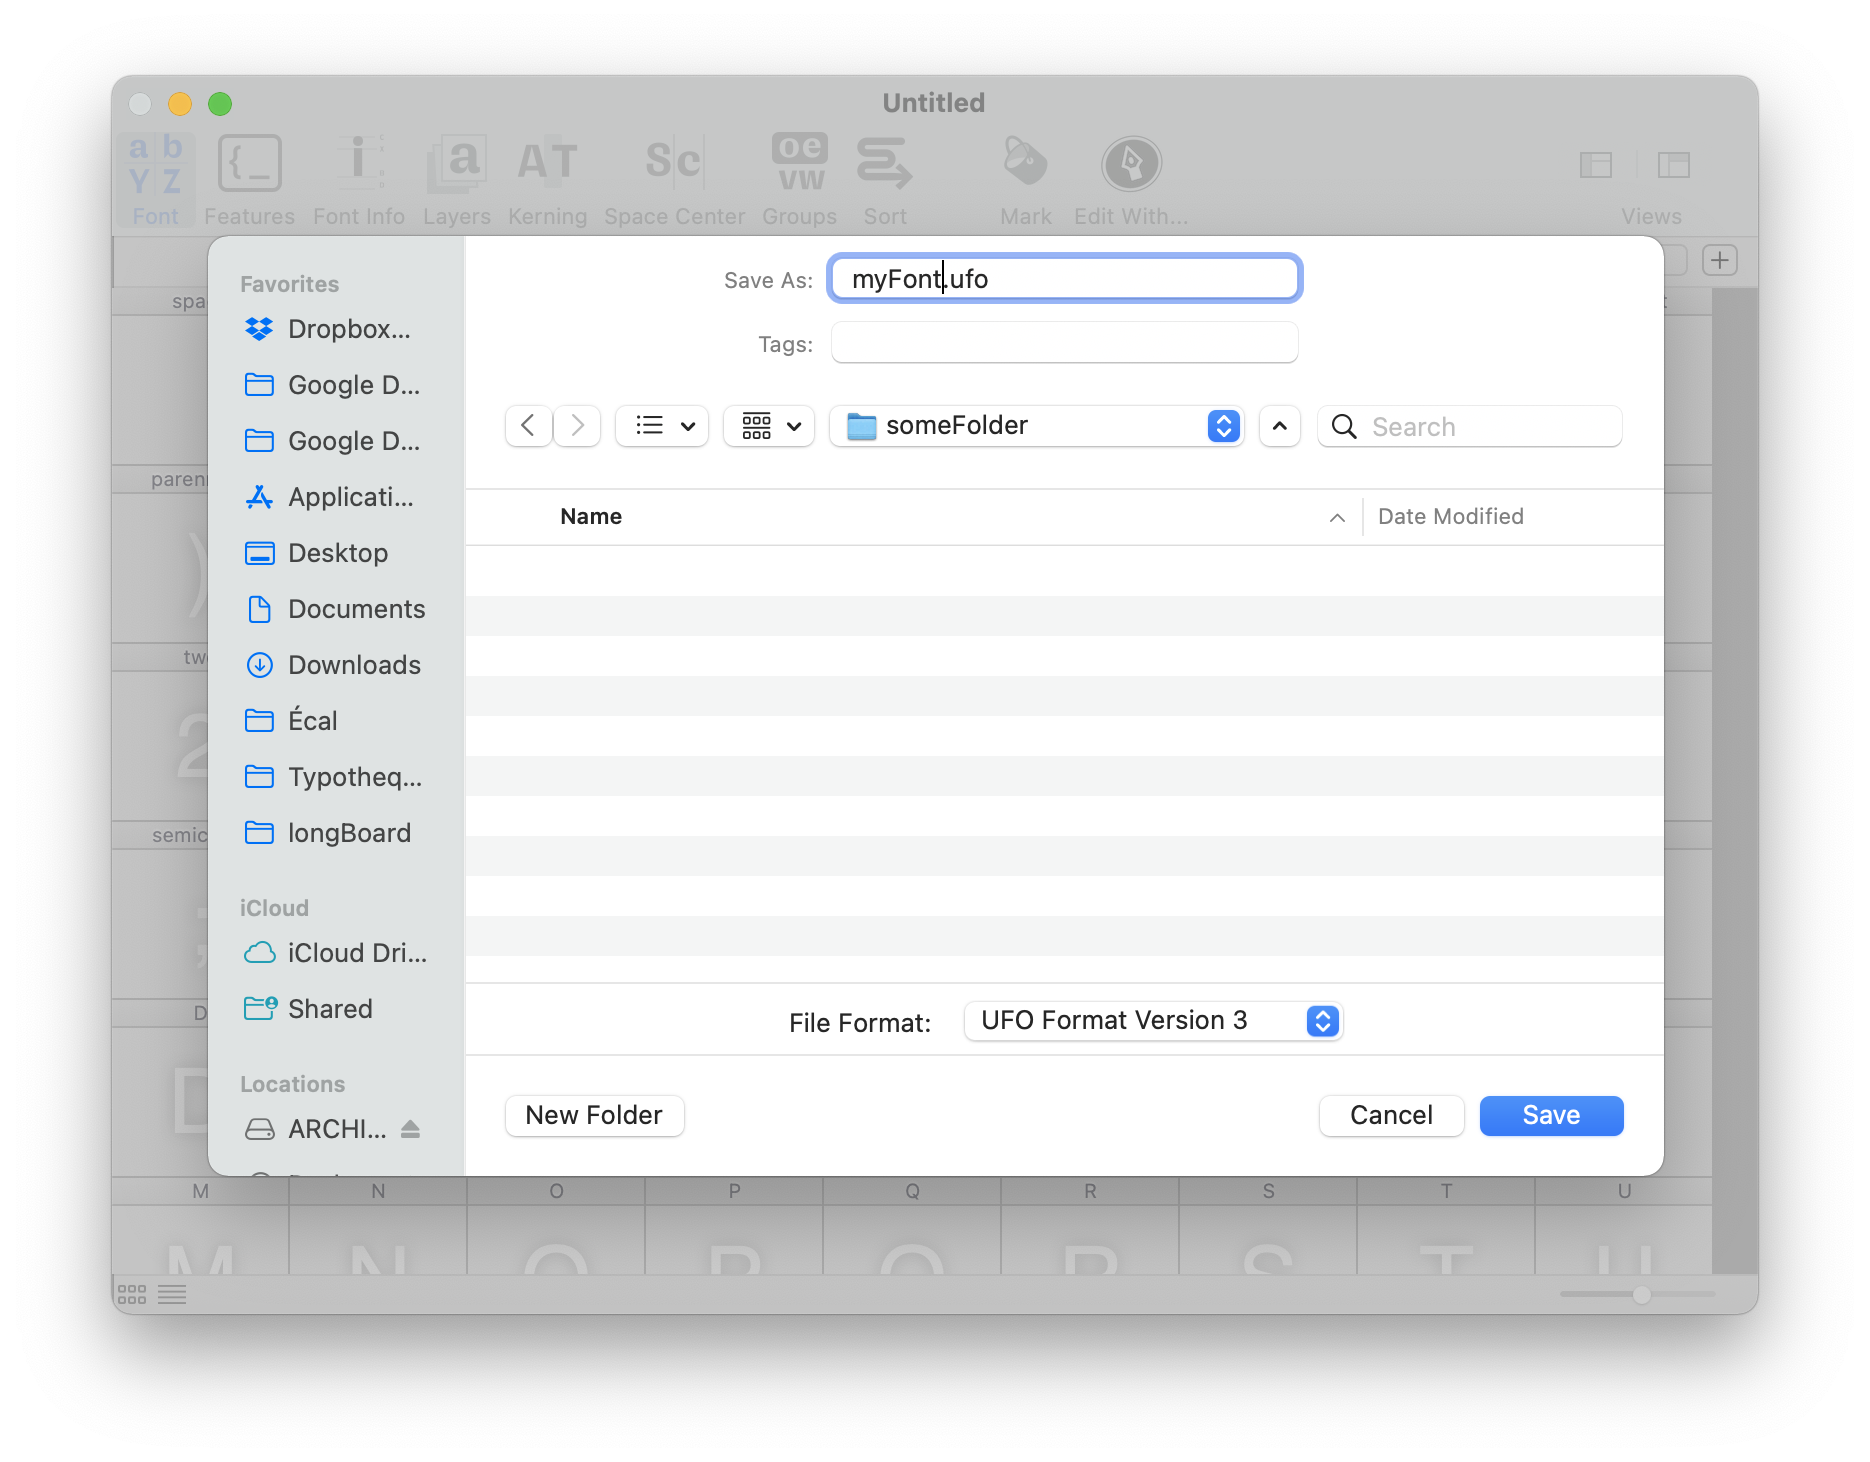
By the end of this tutorial, this folder will also include the generated OTF font and a PDF proof.
myFolder/ ├── myFont.ufo ├── myFont.otf └── proof.pdf
Drawing and spacing
Now that our font is set up, it’s time to dive in and draw all those glyphs.
Drawing
Drawing is done in the Glyph Editor. Double-click any glyph cell in the Font Overview window to open it and start editing that glyph.
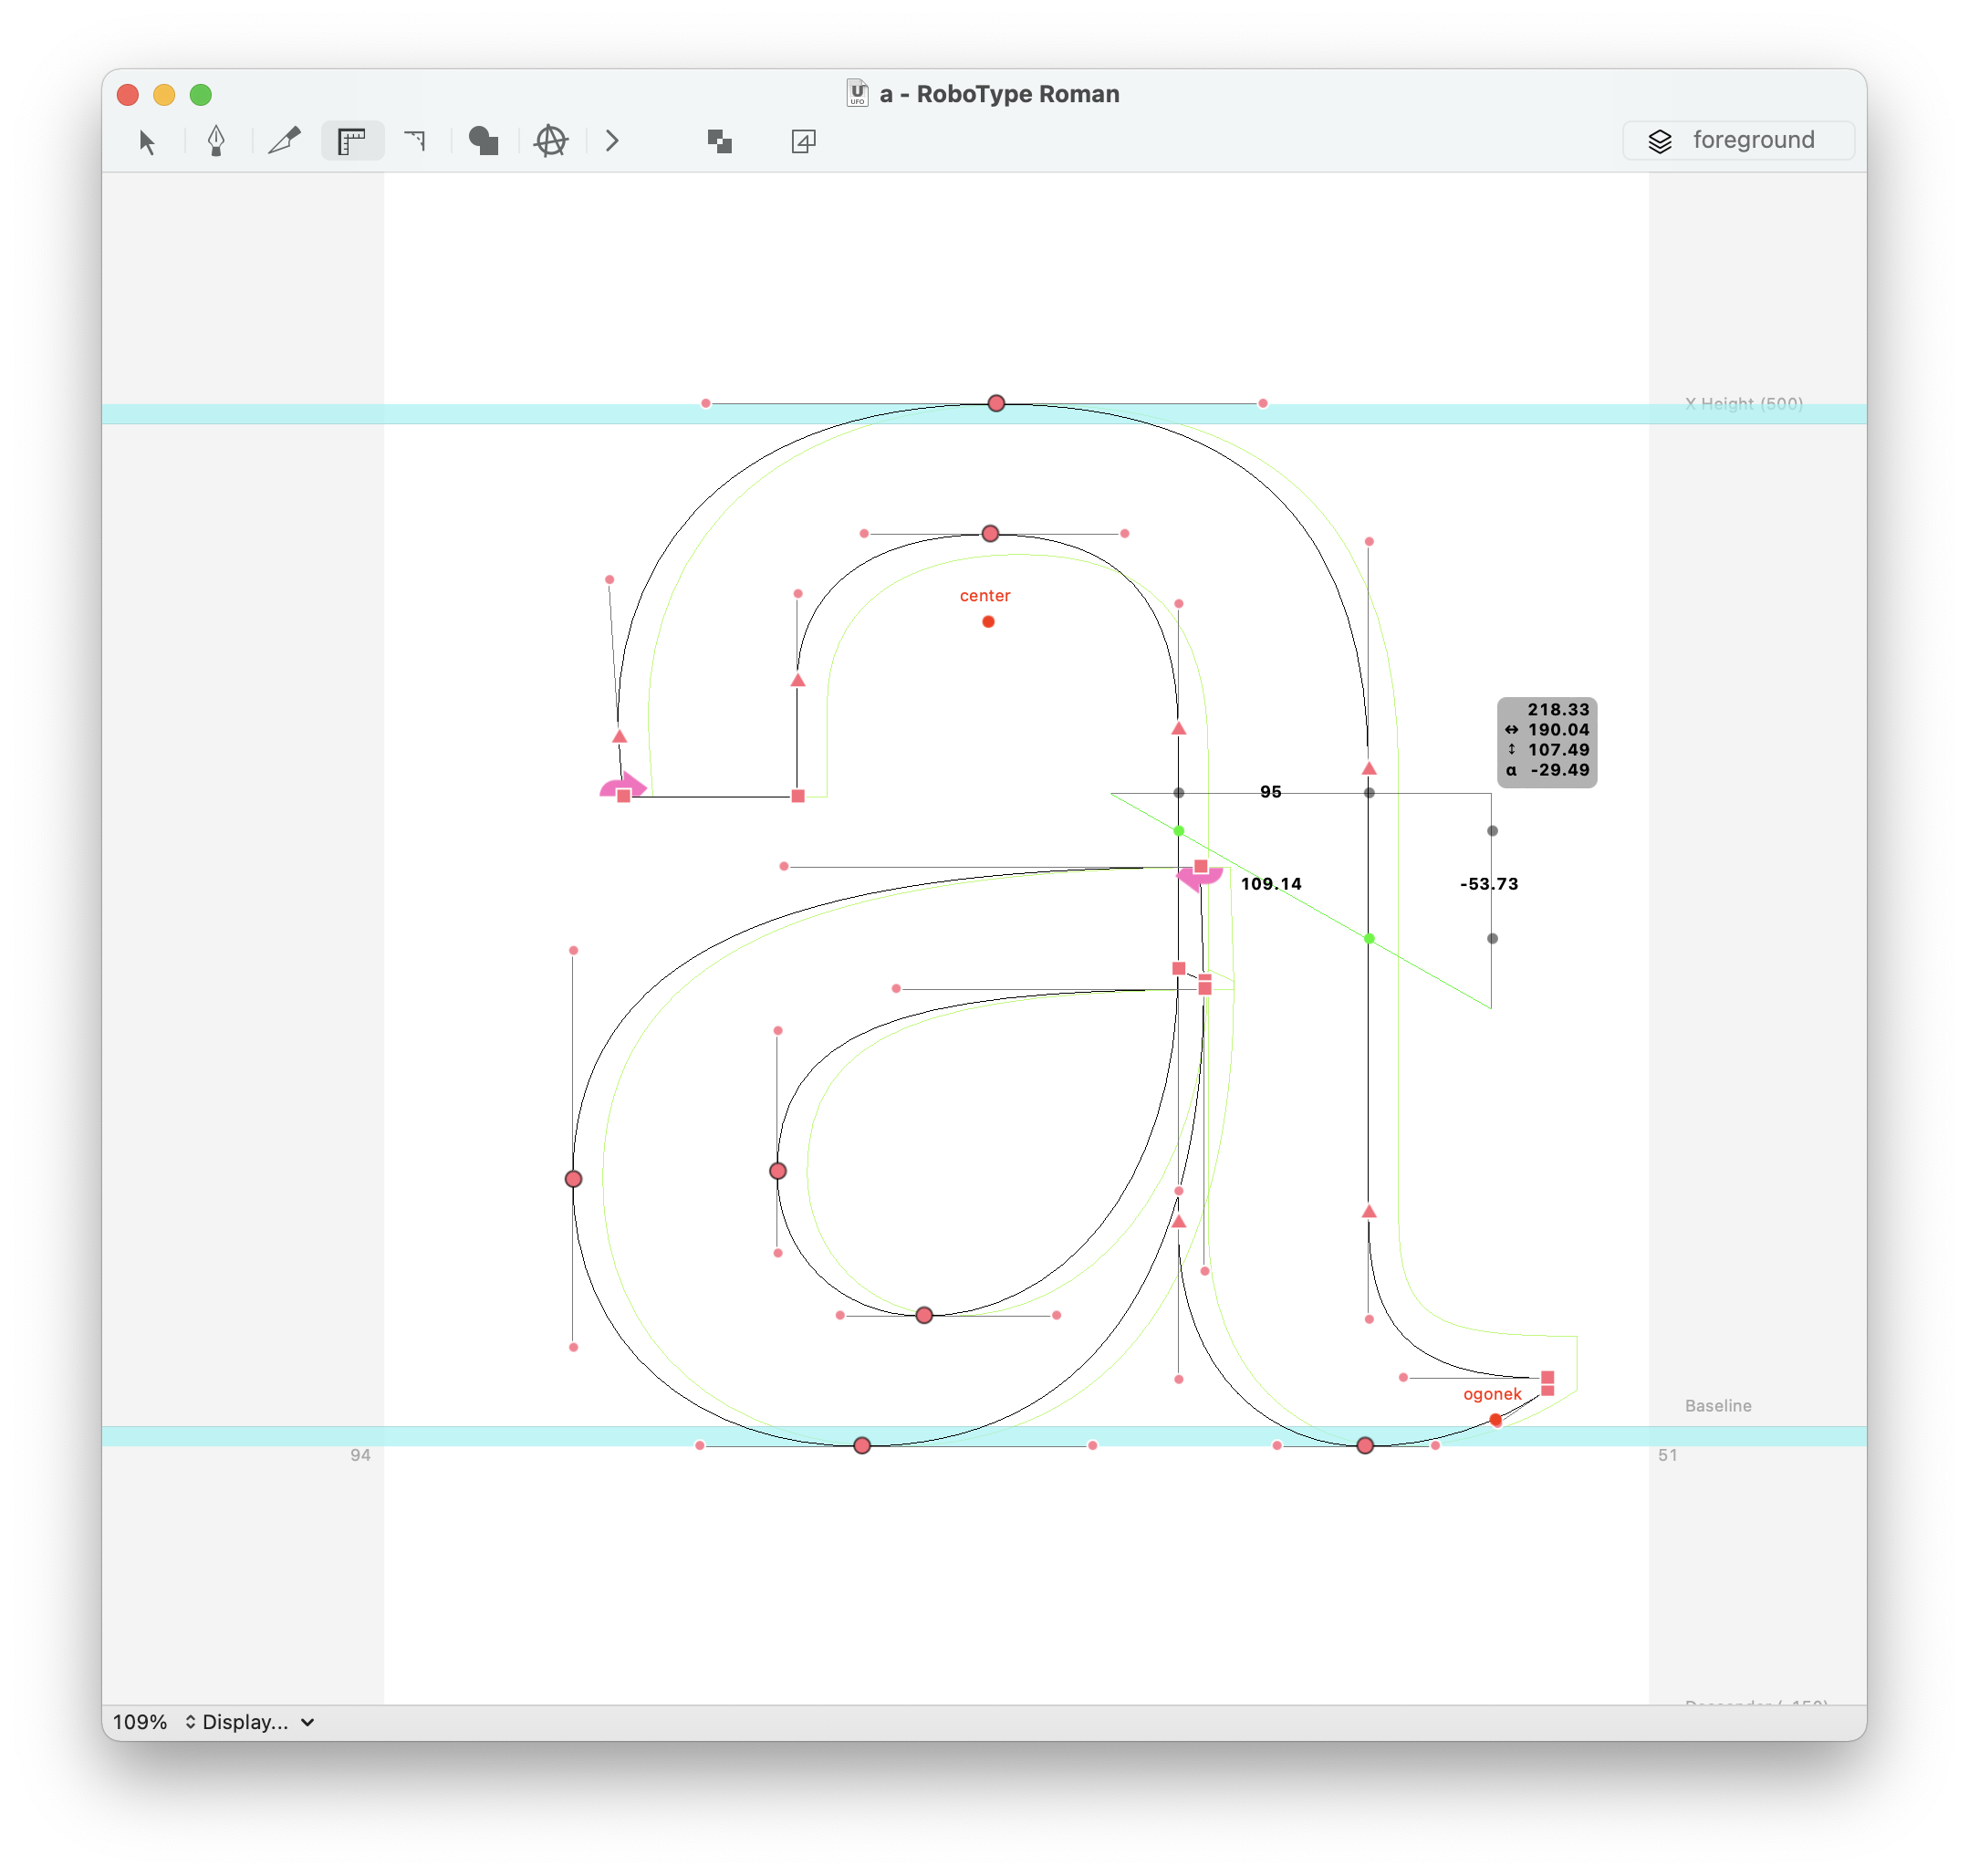
RoboFont offers several tools for drawing and editing glyphs, and many more are available through extensions.
There is a lot to say about drawing – see these separate pages:
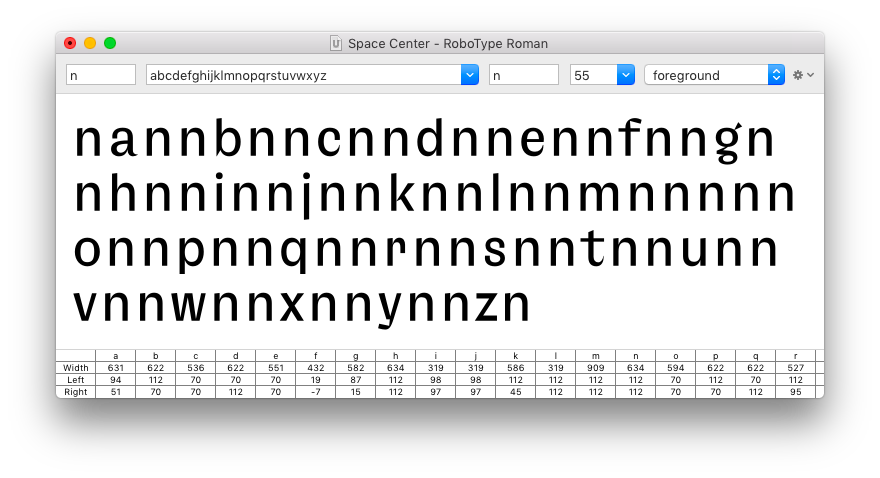
Spacing
Spacing and drawing are usually done together – the space inside the glyphs and the space between the glyphs are defined in relation to each other.
Spacing is done in the Space Center. There are multiple ways to open it: using the icon in the toolbar, using the short keys ⌥ ⌘ S or choosing Window > Space Center from the main application menu.
Previewing
It is important to quickly preview actual text in the font while designing in order to evaluate the drawing and spacing in context.
The Space Center allows us test small passages of text directly from the UFO. Different kinds of text can be used to test different aspects of text. For example, pangrams allows us to view all characters in the alphabet in a short sentence. Emil Ruder’s lists of ‘problematic’ and ‘non problematic’ words are well known among typeface designers. More recently, Jonathan Hoefler published his own texts for proofing fonts.
Some extensions provide additional options and tools for generating preview texts:
The DrawBot extension can also be used to generate PDF proofs directly from the UFO:
To preview longer passages of text, or to proof OpenType specific features it’s recommended to generate an OpenType font. (see below)