Installing test fonts ↩
RoboFont can install a font directly in the OS for quick testing. This font will be directly available for use in any other application. The font will be installed only for the current user and it will be deactivated when the UFO document in RoboFont is closed, when the user quits RoboFont or when the user logs out.
RoboFont does not provide a print function. Many aspects could influence the proofing of type, so it does not seem feasible to design a specimen-maker tool that could fit all the different needs. The Test Install feature allows users to check their type where and how they prefer.
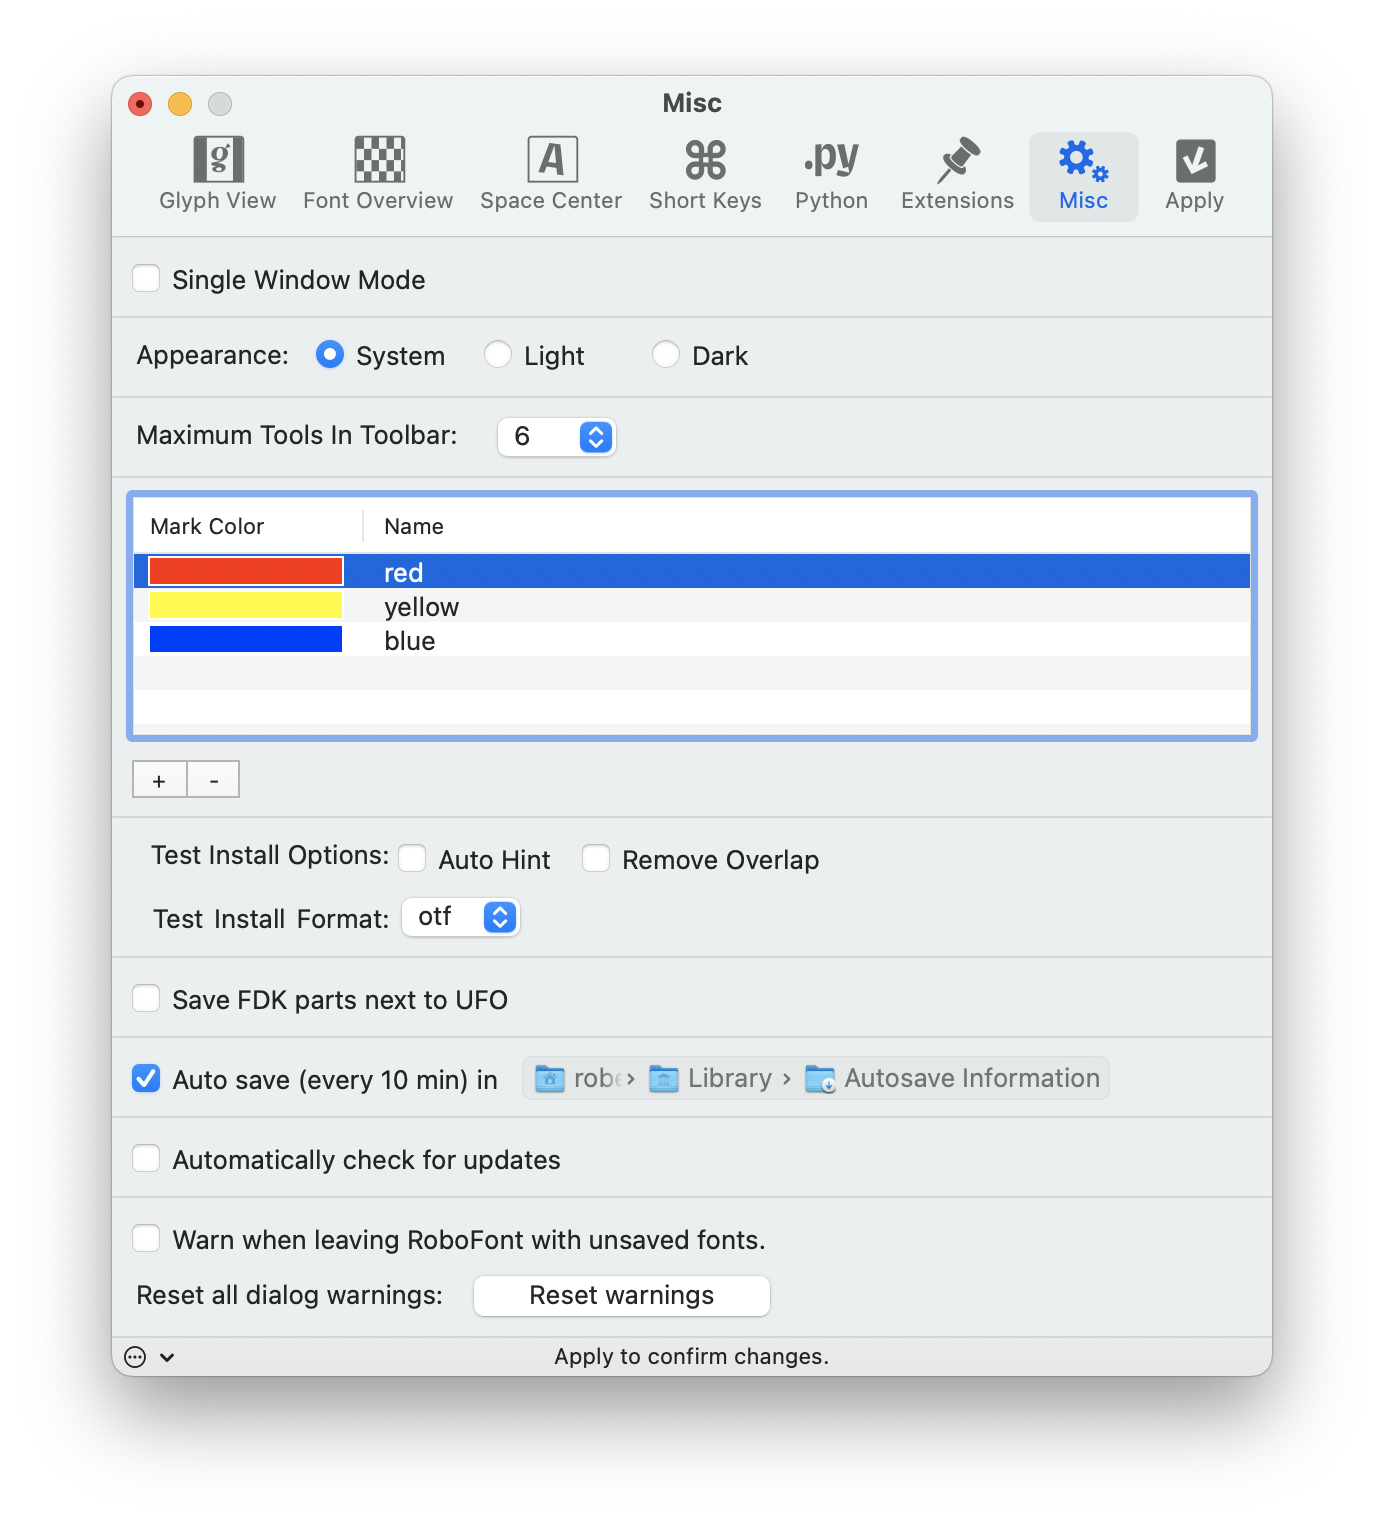
There are some settings you can alter in the Preferences like auto hint, remove overlap and font format (.otf or .ttf).
Test install through the graphical interface
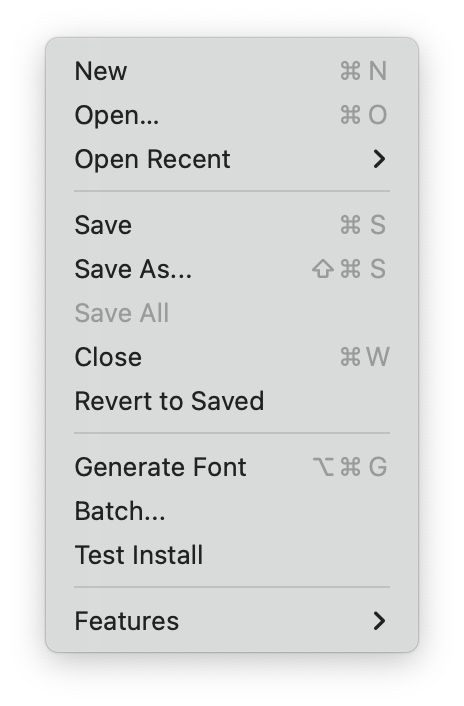
You can test install a font on your machine using the option Test Install from the Application Menu > File. To test install all open fonts, hold the ⌥ key and the Test Install option changes to Test Install All.
Test install via script
Test installing a font through code is as simple as calling the .testInstall() method on a RFont
myFont = CurrentFont()
myFont.testInstall()
Using a test installed font with Python
Differently from other applications installed on your machine (like InDesign or TextEdit), DrawBot is not directly able to detect changes in a test installed font. Once a font is inserted in the OS with a unique name, it become frozen from the OS user interface standpoint. It happens for safety reasons. There are a few different ways to overcome this issue, each one with pros and cons.
Unique postscript name
Do not change the font you already test installed, just pretend to create a new one! The postscript font name is the unique identifier for the macOS and DrawBot, so you might use a unique postscript name each time you want to test install and typeset the font. Assuming you are running this code from the DrawBot extension:
import time

myFont = CurrentFont()

originalPostScriptName = myFont.info.postscriptFontName

# we update the postscriptFontName attribute with the current time
myFont.info.postscriptFontName = f'{myFont.info.postscriptFontName}-{time.time()}'

# test install and typesetting
myFont.testInstall()
font(myFont.info.postscriptFontName, 24)
text("Hello, world!", (200, 200))

# we revert the original name back in our font
myFont.info.postscriptFontName = originalPostScriptName
This is definitely the hackiest approach among the three, but sometimes it is good enough. It makes the test installed font accessible system wide and it does not require any extra configuration.
Generate a temporary file
DrawBot accepts a file path as font() input, so you can avoid .testInstall() entirely. Just generate a temporary binary file and use it with DrawBot. Assuming you are running this code from the DrawBot extension:
import tempfile

binaryFormat = "otf"

myFont = CurrentFont()
with tempfile.NamedTemporaryFile(suffix=f".{binaryFormat}") as temp:
    myFont.generate(path=temp.name, format=binaryFormat, checkoutlines=True)
    newPage('A3Landscape')
    font(temp.name, 24)
    text("Hello, world!", (200, 200))
With this solution, the font will not be available system wide.
Launch your code from terminal
When using DrawBot to generate test specimens it is advised to install DrawBot as a module and run your DrawBot script from terminal.
The scope of the process ends when the script is done, any changes to the font and a new test installed version will be available in your script that runs in terminal.
When using the application DrawBot, the scope ends only when the application quits, so changes in the font will not be detected by DrawBot. This implies to manually test install your font in RoboFont.
import drawBot as dB

dB.newDrawing()
dB.newPage('A3Landscape')
dB.font("MyFont-Regular", 24)
dB.text("Hello, world!", (200, 200))
dB.saveImage('mySpecimen.pdf')
dB.endDrawing()