Layers ↩
Description
Source fonts may contain multiple independent layers.
Layers can be used for many purposes:
- to separate different stages of a project
- to facilitate collaboration with other designers
- to store multiple sources of a typeface
- to store different layers of a color font
- anything else you can think of!
Edit layers
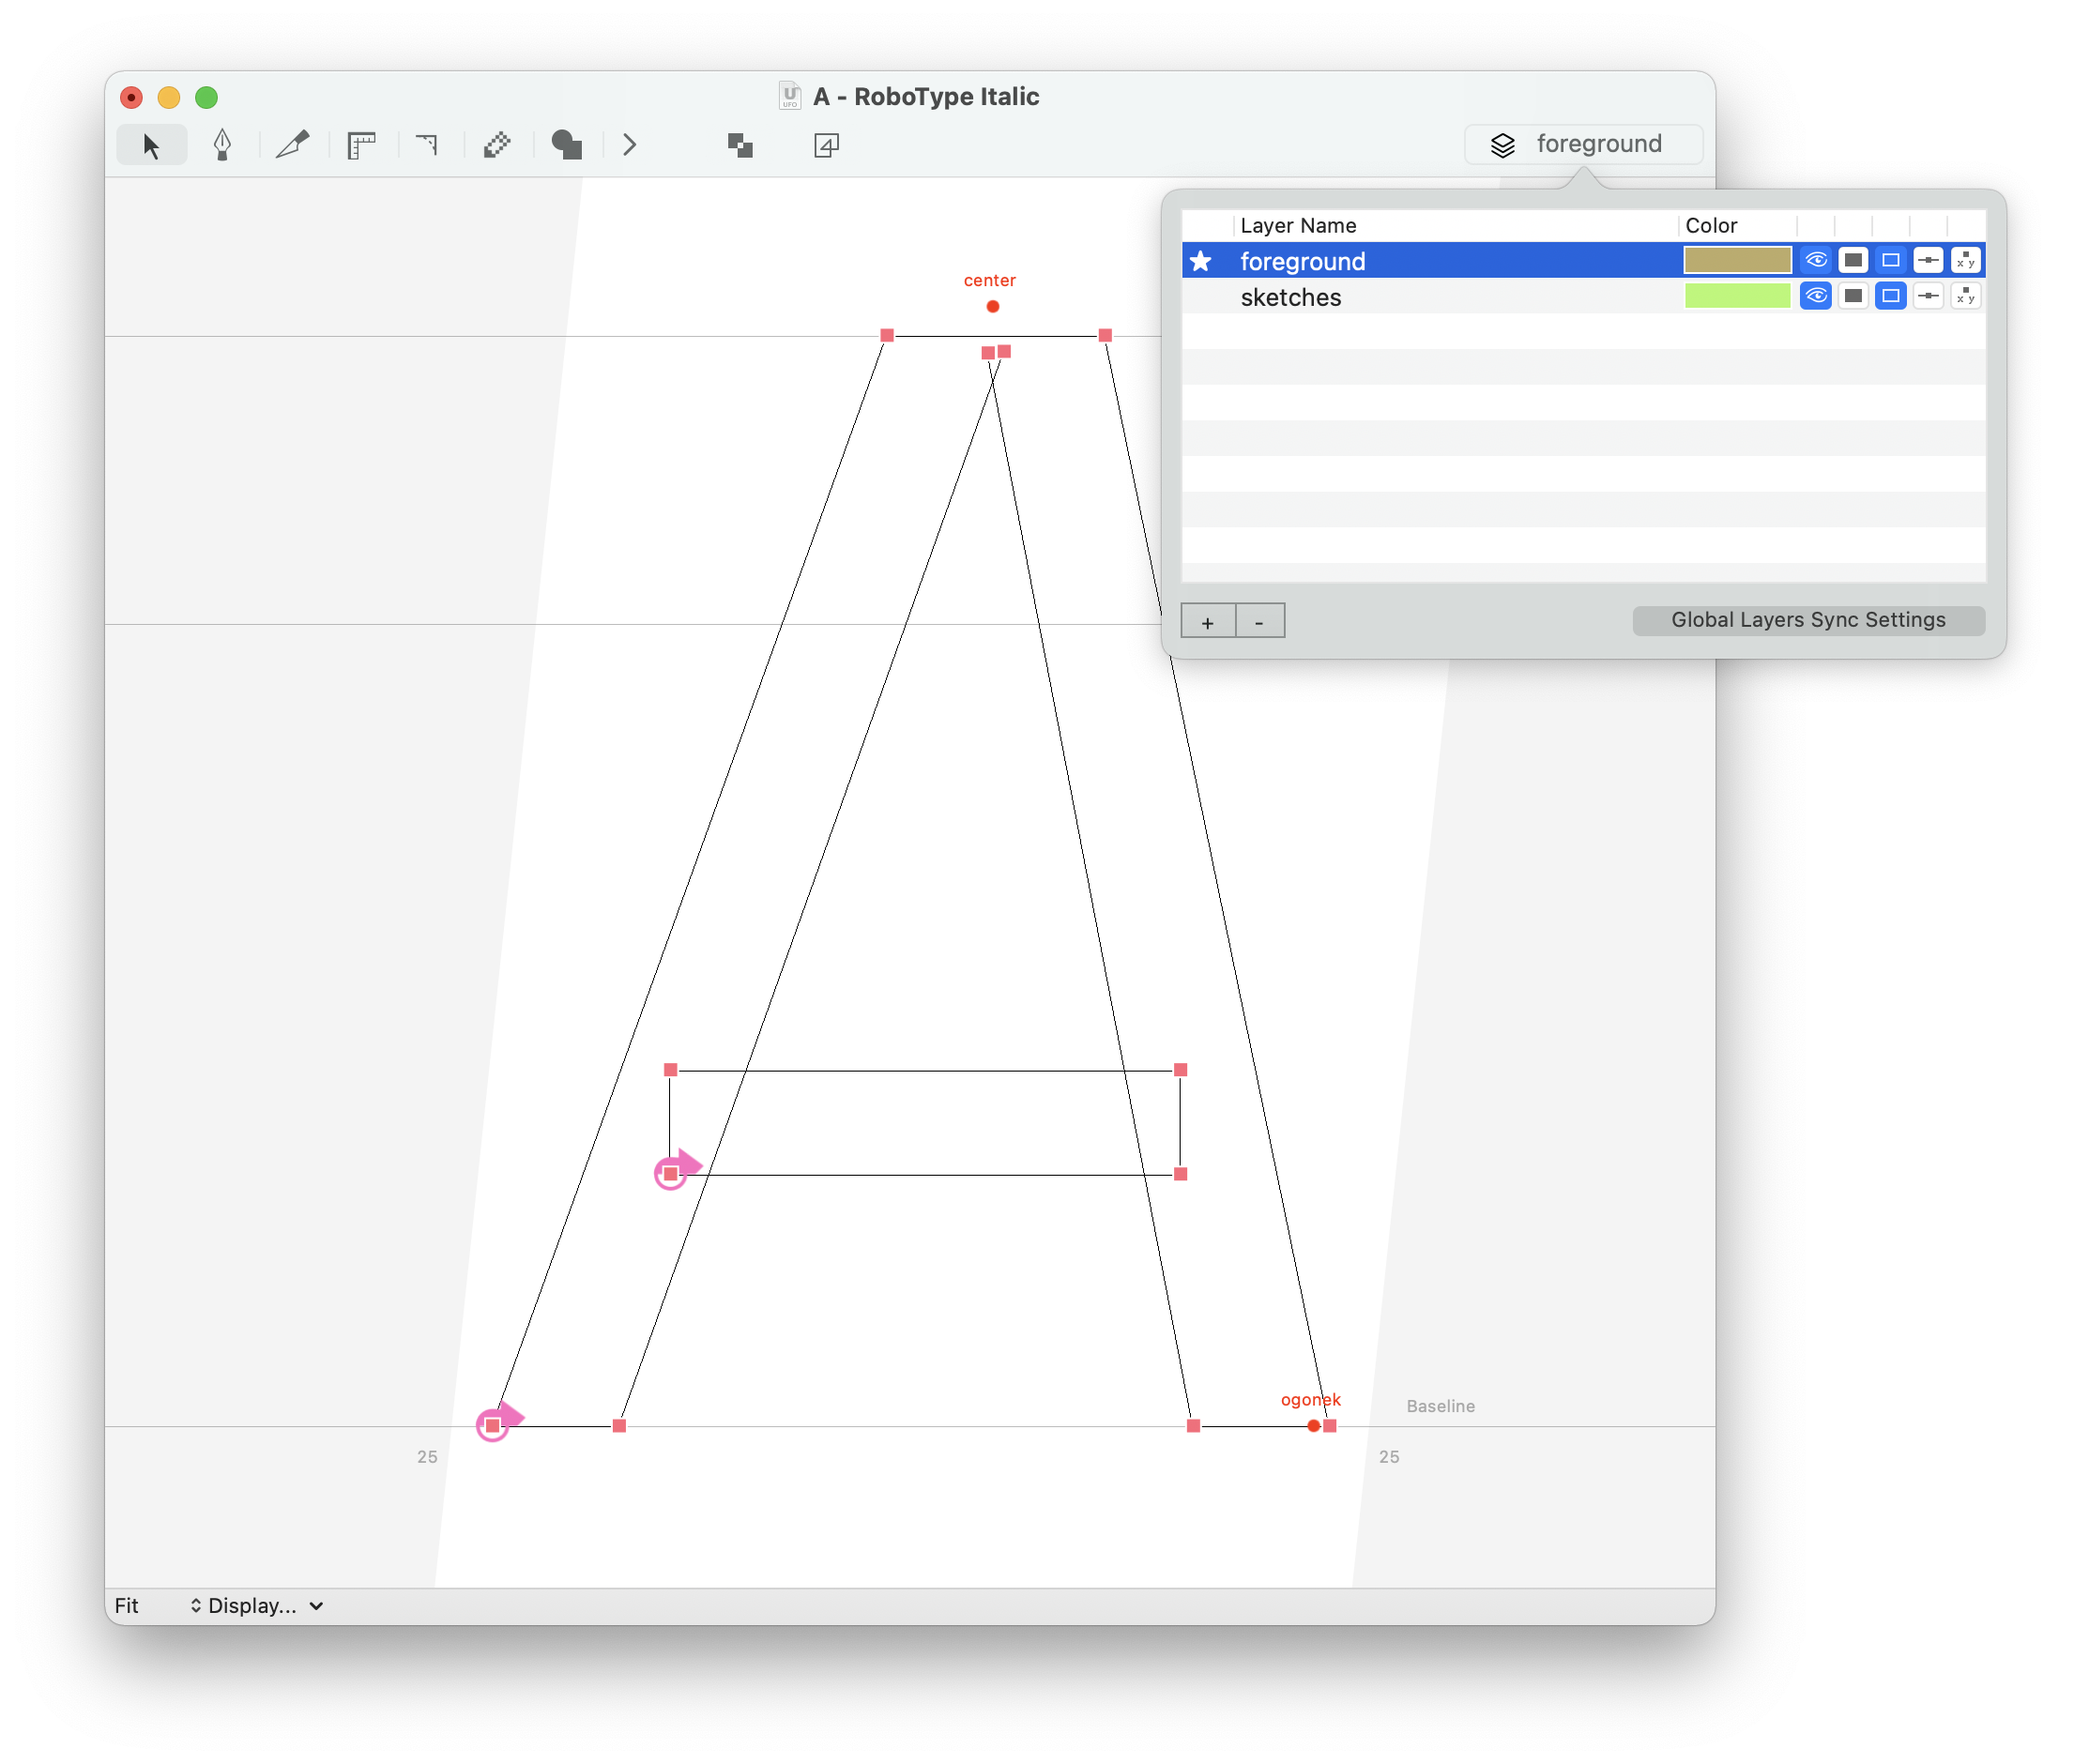
You can edit the font layers using the layers popover.
You can access the layers popover from the button sitting at the top right of the glyph editor (where the name of current layer is also shown)

Inside the glyph editor, you can use the shortkeys Cmd ↓ and Cmd ↑ to move to the previous / next layer.
You can also access the layers popover from the Font Overview Toolbar.

Layers popup
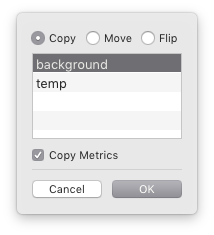
The Layers pop-up window offers a quick way to copy between layers of the same glyph. It can be opened by pressing L while in the Glyph Editor.

| action | description |
|---|---|
| Copy | Copy the contents of the current layer to one or more layers. |
| Move | Copy the contents of the current layer to one or more layers, and clear the contents of the current layer. |
| Flip | Switch the contents of the current layer with the contents of another layer, and vice-versa. |
| Copy Metrics | Copy glyph width when copying between layers. |
| Copy Anchors | Copy glyph anchors when copying between layers. |
| Copy Guidelines | Copy glyph guidelines when copying between layers. |
| Copy Image | Copy glyph image when copying between layers. |
Adding layers
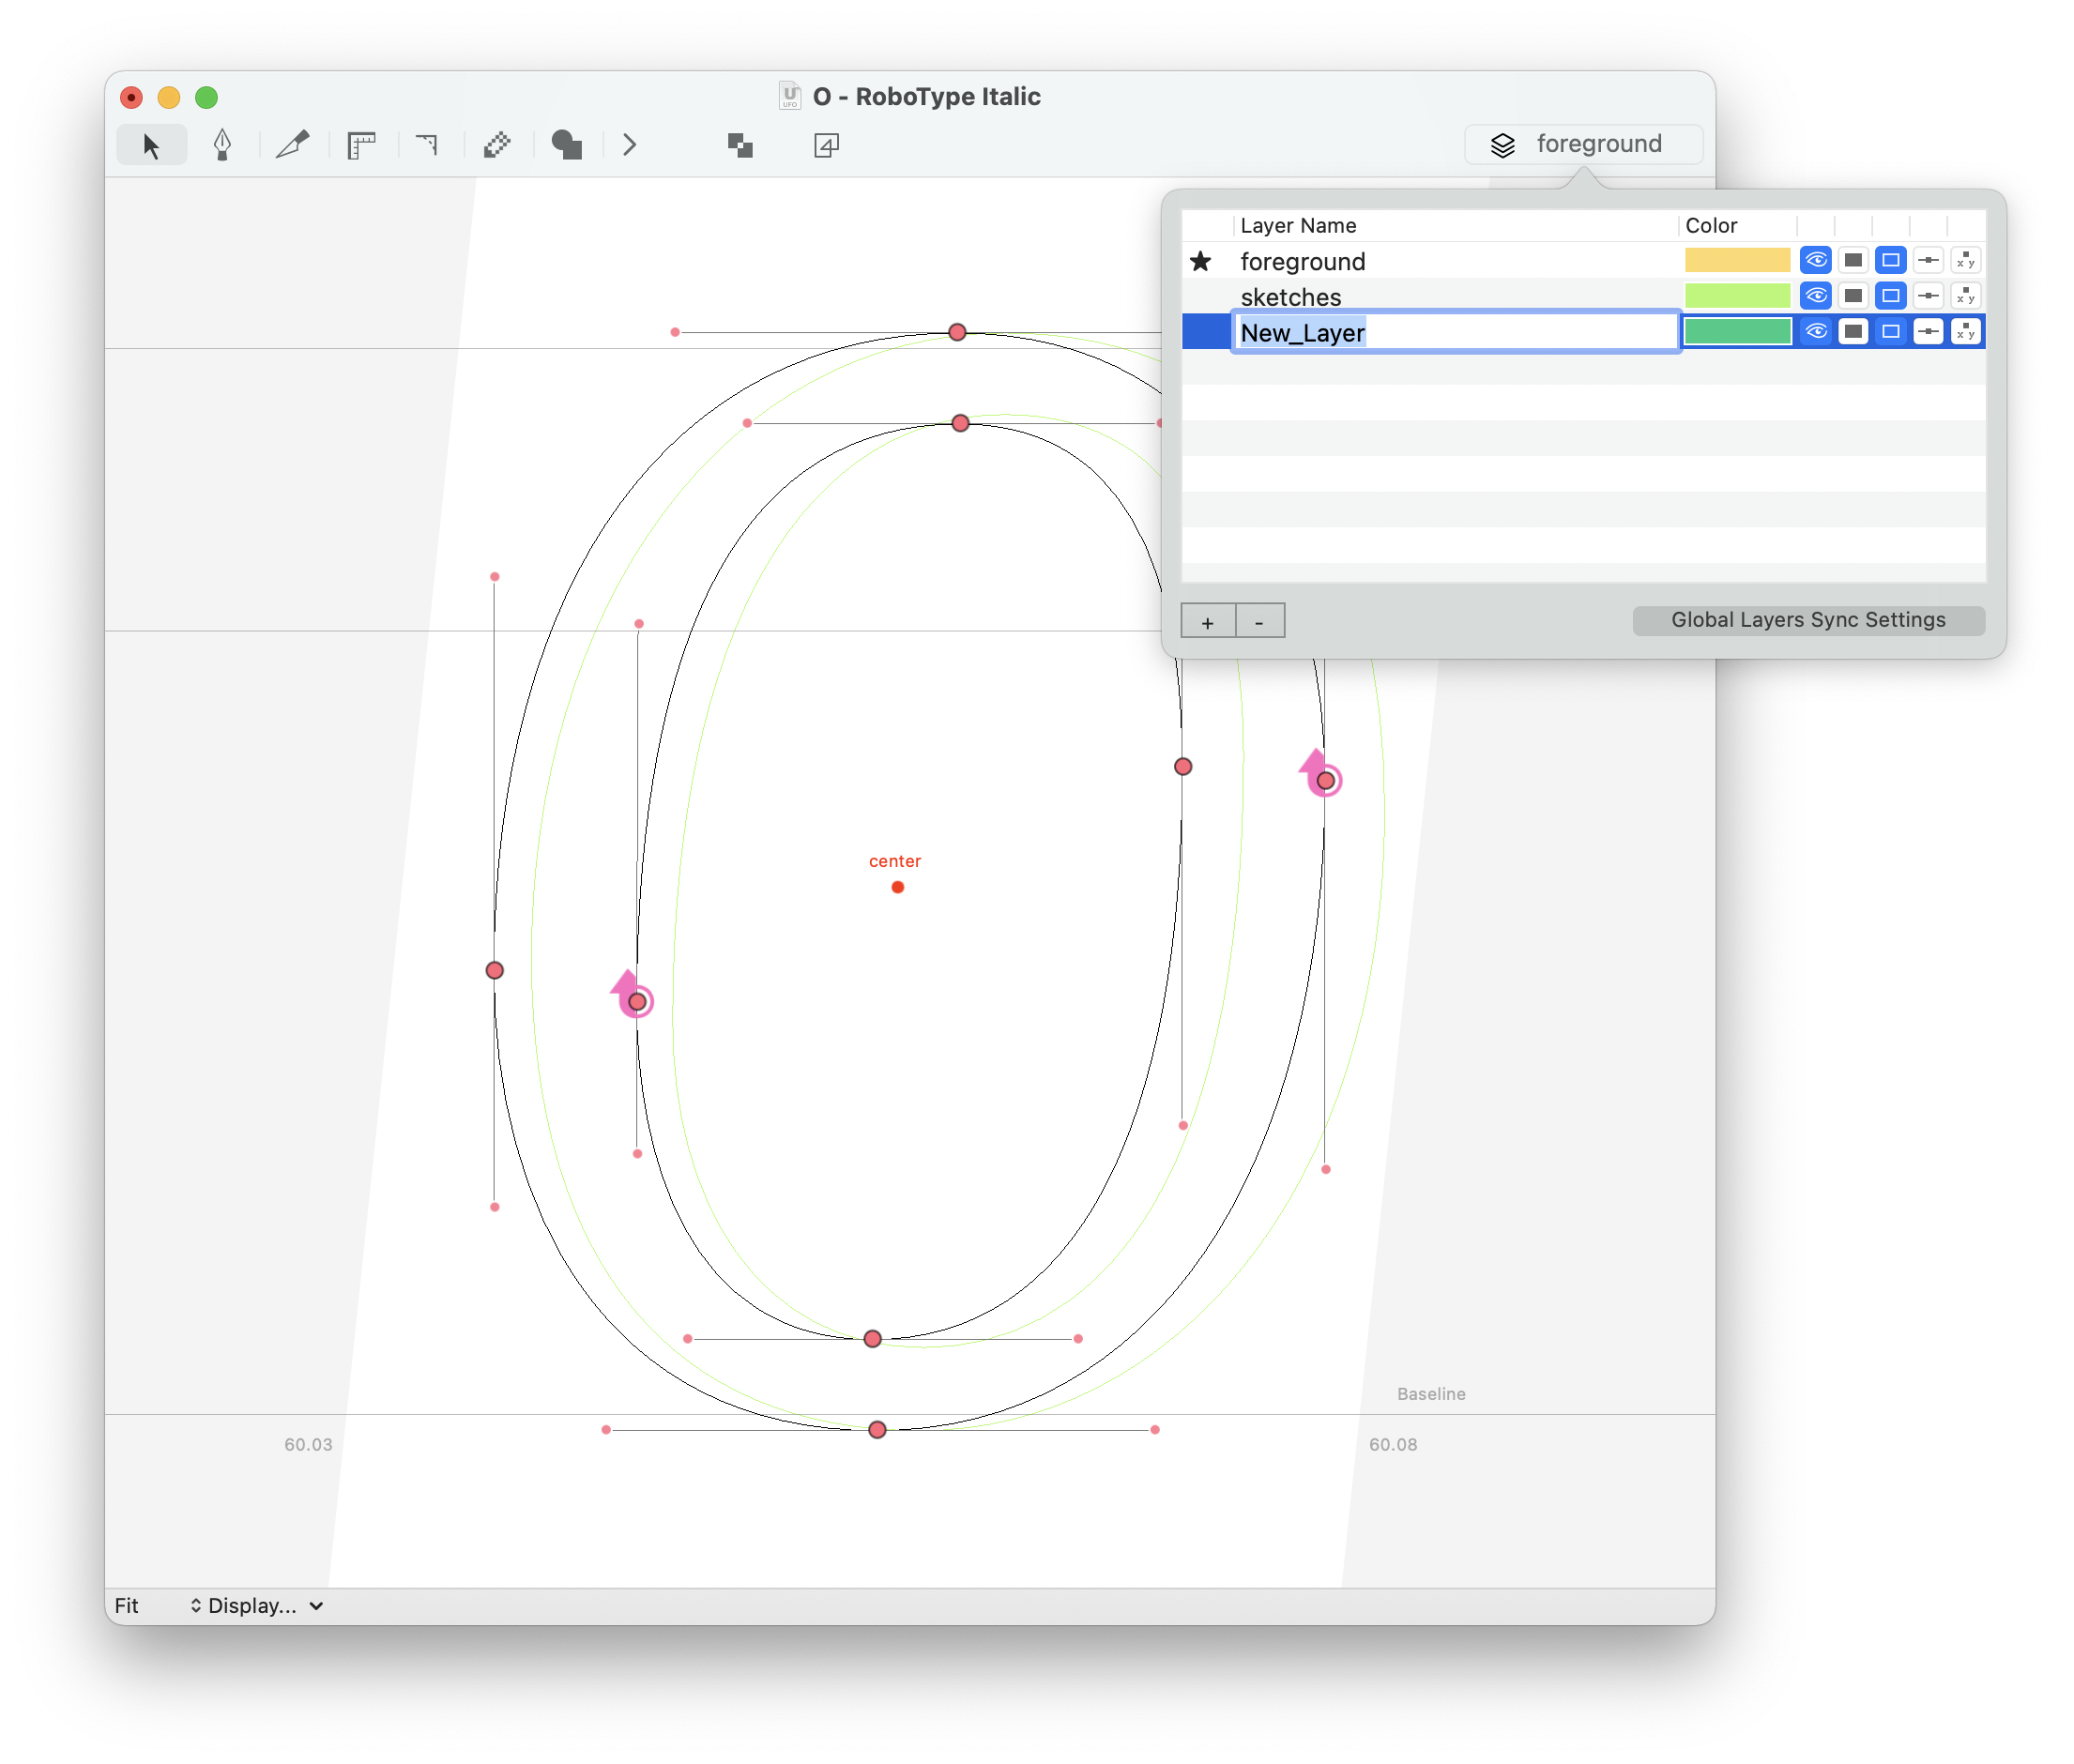
Layers are added with the Add Layer sheet, which can be opened by choosing Create New Layer from the Layers menu, or by clicking on the + button in the Layers Inspector.

| action | description |
|---|---|
| Layer Name | Provide a name for the layer (required). Layer names must be unique. |
| Layer Color | Choose a color for the layer. This color is used to display the layer when it is in the background. |
| Add or Enter | Create the new layer and switch to it. |
Removing layers
Layers can be deleted from the layers popover. Select a layer and click the - button.
- UFO3 Specification > layercontents.plist / layerinfo.plist
- FontParts API > RLayer