Groups Editor ↩
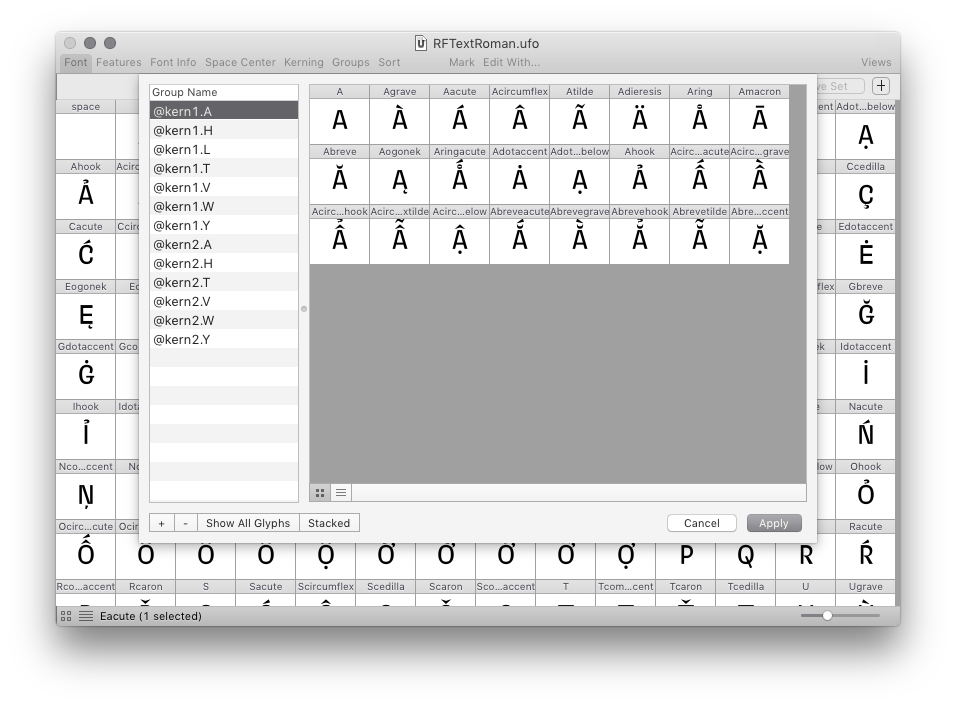
The Groups Editor makes it possible to create groups of glyphs.
Groups can be used for different purposes: spacing, kerning, organizing character sets, etc.
Groups are not used by the Features Editor. Use OpenType classes instead.
Creating groups
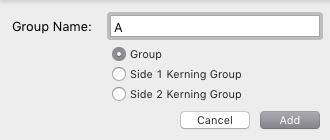
Create new groups by clicking on the + (plus sign) button at the bottom left of the sheet. Choose between a kerning group (1st or 2nd) or a regular group.
Double-click on a group’s name to edit it.
Adding glyphs to groups
First, open the font overview by clicking on the Show All Glyphs button.
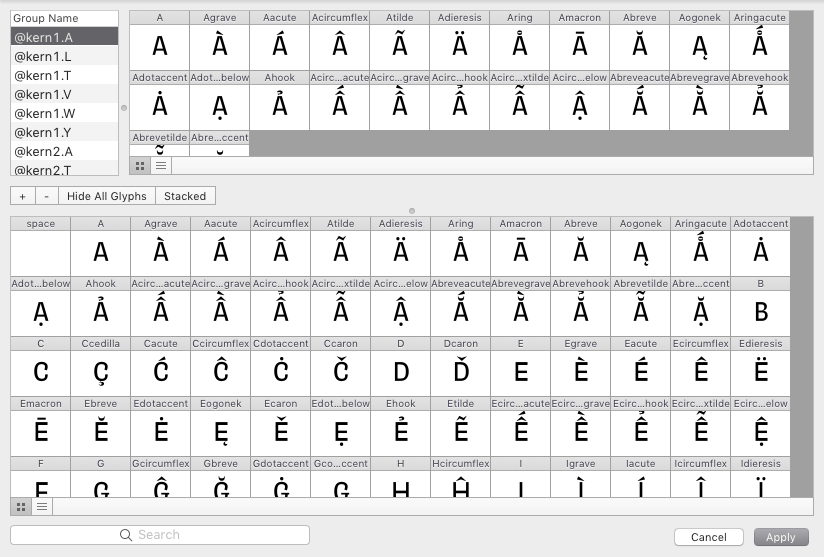
Then, add glyphs to a group by dragging them from the font overview (bottom) into the current group (top).
Stacked mode
The glyphs in each group can be visualized as a grid of glyph cells, or can be stacked on top of each other for easier comparison.
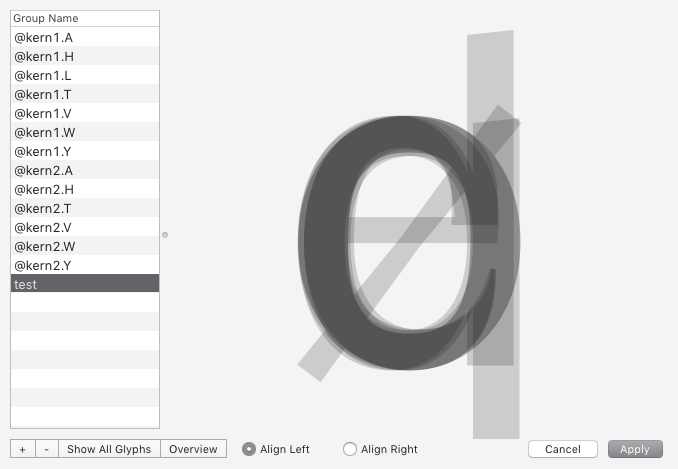
The stacked mode is specially useful when creating spacing groups or kerning groups, when all glyphs in a group have a similar left or right side. Use the aligment option to match the glyphs to the appropriate side for comparison.
Options
| option | description |
|---|---|
| + | Create a new group. |
| - | Delete the selected group. |
| Show/hide all glyphs | Toggle the font overview showing all glyphs in the font. |
| Glyph cell mode | Switch to glyph cells display mode. |
| Glyph list mode | Switch to glyphs list display mode. |
| Stacked | Display glyphs stacked on top of each other. |
| Overview | Display glyphs as a grid of glyph cells. |
Actions
| option | description |
|---|---|
| click + drag | Add glyphs to group by dragging from All Glyphs into the current group. |
| double-click group | Edit the group’s name. |